
 Cloud1.live User Guide
How to Set Up AWS IAM Account for AWS Key and Secret
December 9, 2024

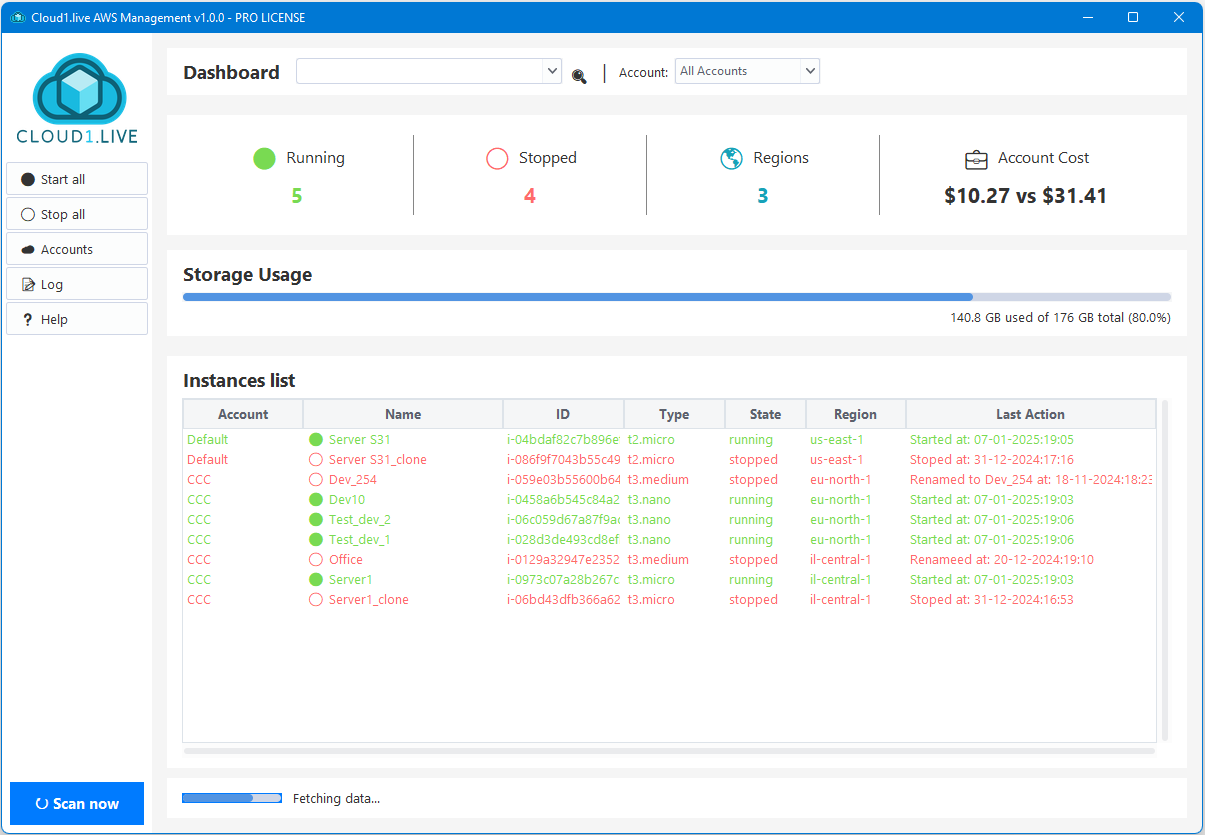
Quick Start Guide: Managing AWS Instances with Cloud1.Live
This guide will walk you through obtaining the necessary credentials to securely manage your AWS instances using Cloud1.Live. After retrieving your access key and secret, you will use them to register your AWS account with Cloud1.Live.
Important Disclaimer:
Cloud1.Live does not store, transmit, or use your AWS access key and secret beyond providing management tools for your AWS account. These credentials are stored locally on your system in an encrypted format and are never sent outside of your system.
Steps to Obtain AWS Credentials:
- Log in to your AWS account.
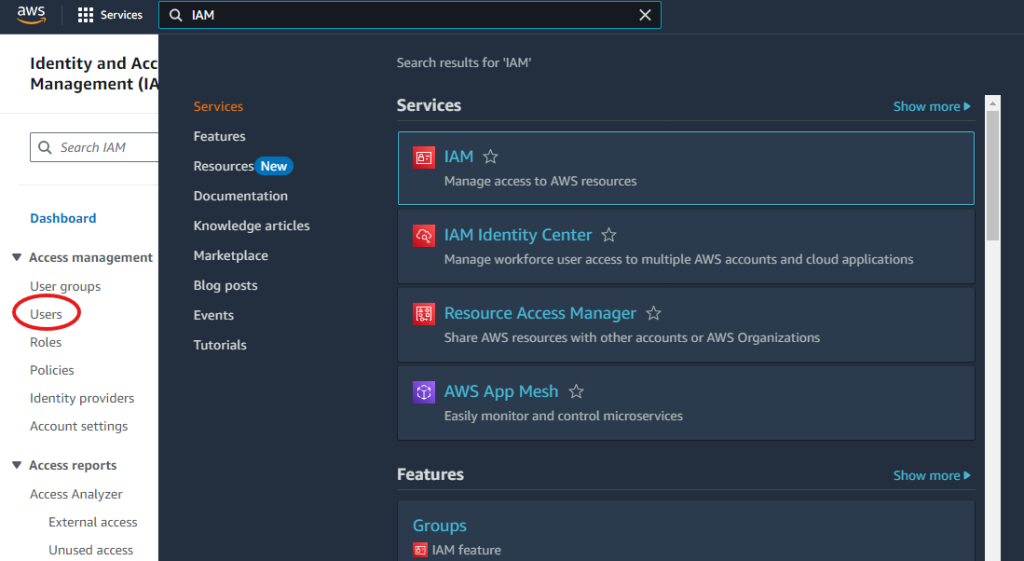
- In the search bar at the top of the page, type “IAM” and select it.
3. On the left menu, click “Users.”
4. On the Users page, click “Create User” in the upper-right corner.

5. Enter the username “Cloud1Live” and click Next.

6. Under “Permissions options,” select “Attach policies directly” and search for the following policies:
-
- AmazonEC2FullAccess
- AWSBillingReadOnlyAccess
- CostOptimizationHubReadOnlyAccess


7. Click Next, then click Create User.

8. After creating the user, click on the username “Cloud1Live” to access the user details.

9. Click on “Security credentials” tab, scroll down to the “Access Keys” section and click “Create Access Key.”

10 Select “Application running outside AWS” as the use case and click Next.
11. Add a description for the access key if desired.

12. On the “Retrieve access keys” page, copy both the Access Key and Secret Access Key and store them securely. Click Done.

13. Use the Access Key and Secret Access Key to configure Cloud1.Live and manage your AWS instances.
By following these steps, you’ll be able to securely manage your AWS resources through Cloud1.Live.
For any information, please write us to support@cloud1.live
Recent posts

Previous post
How to Manage AWS Instances
Next post
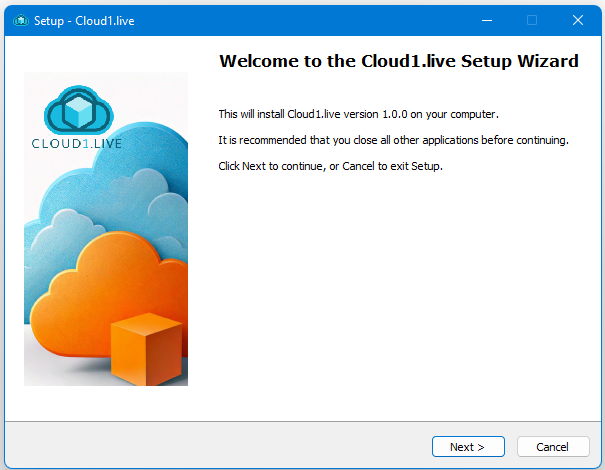
Cloud1.live Installation Prerequisites